How to Improve Your Social Media Food Photography Style
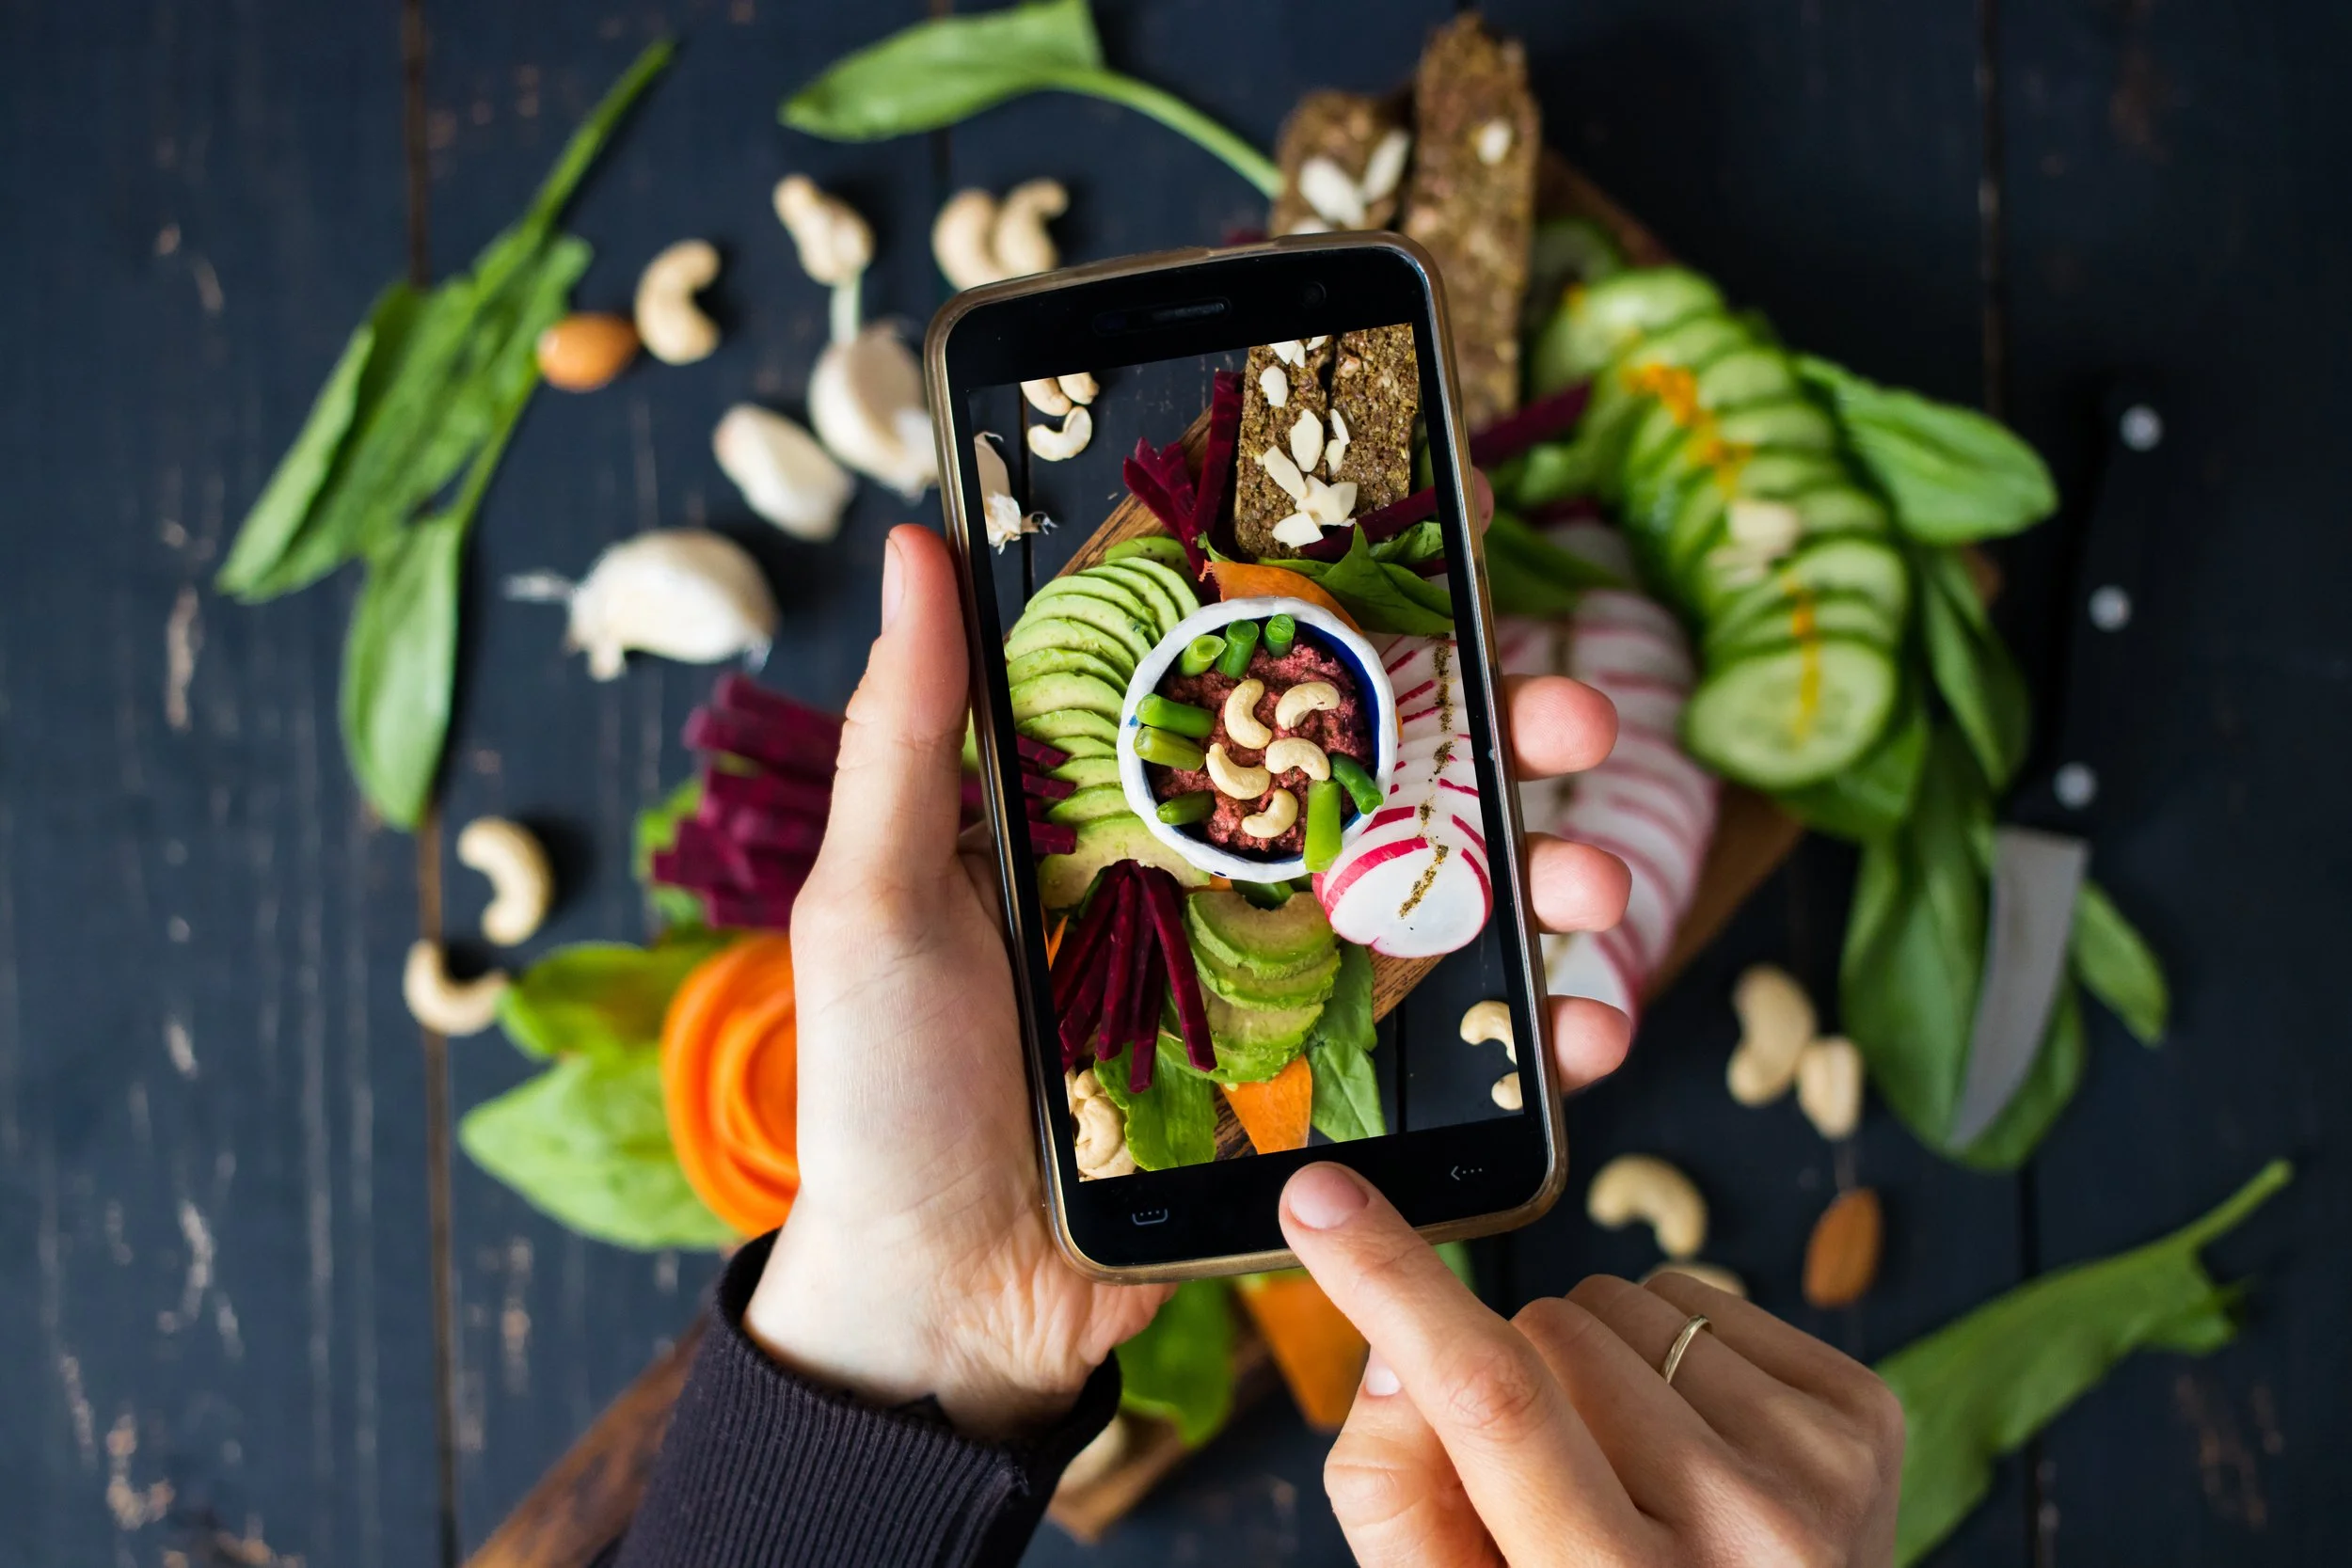
It's only normal to post images of oneself on social media after preparing a lovely dinner or enjoying an excellent supper. Food photography is difficult, even more so when capturing vibrant colours and minute details.
Although food photography is a famous specialty, the good news is that you do not need to take any classes to shoot your food for social media.
Nowadays, social networking is nearly necessary for businesses involved in the food industry. Most restaurants and food manufacturers are active on social media platforms like Instagram and Facebook. On the other hand, creating consistent photographic content is a universal difficulty.
This article will tell you how to improve your social media food photography style. Read on to learn more.
1. Set an Appealing Style
You need to find your unique style and stick to it to succeed in food photography. It would help if you had a plan of what you wish to achieve with your photographs and treated your creations as a new part of art.
First, try to figure out what kind of audience you wish to target to achieve your goals. For example, if you plan to focus on food recipes, your approach should be different from using food as a pictorial element for a fashion blog.
Then you need to develop your eye for different photography styles:
Food Pictures: Soft focus and a dreamy mood
Food Art: Bright pastel colours, detailed and stylized look
Foodie-ness: Layered effect, bright colours
Food Porn: Colorful, realistic, unpolished
2. Find a Great Location
You should do food photography where the light is soft and inviting. The background should be engaging with a touch of colours.
For example, you can use the shadow of a tree, a blue sky, a white tablecloth, etc. You can also create an excellent background yourself with a blue or orange cloth.
3. Add Textures in Your Image
The main goal of food photography is to show the texture of your plate or platter. Using different textures is the best way to do so.
What does it mean by textures? You can add crumpled napkins, layers of colourful fruit, shingles of cheese, or pieces of other slices of bread to achieve different textures.
Always pay attention to the texture of the individual food product. For example, add an edible plant with a beautiful texture to bring out the best of your dish.
4. Show the Food in Different Angles
Shoot from different angles to capture the most appealing look of your food. It will result in a bold image that will stand out from the crowd.
5. Clean Up Your Image
Most food photographers edit their photos because it's easy to remove an empty glass, cut off a slice of bread, or straighten out a crooked plate.
The easiest way to edit is with the Clone tool on Adobe Photoshop, primarily an automatic process. The Clone tool copies a portion of the image and pastes it in another location, which is helpful in food photography.
Final Advice
Practice is the most effective method of learning. There is no way to become a great food photographer without trial and error.
headstartt is passionate about brand development. In a world with so much noise, we help brands develop their voice. Then we amplify it! We provide ROI-driven digital marketing for restaurants, emphasizing long-term technology and marketing connections. Contact us right away if you require social media services in Vancouver!